
How Drawify works
Drawify helps you move from a complicated idea to a clear visual story without needing drawing or design skills. Start with an illustration or template, build the composition, customize it and use the result wherever you communicate.
Step 1: Define the message
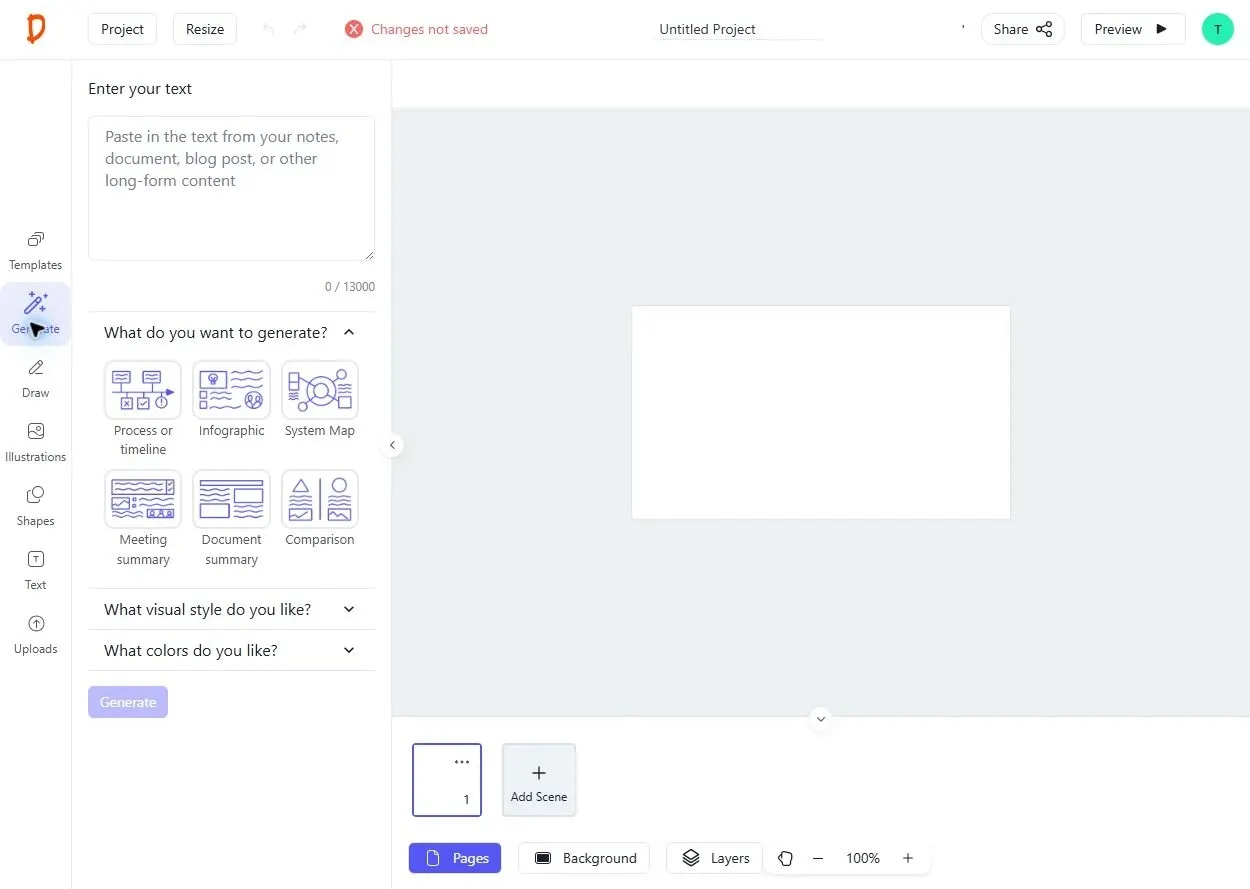
Write the one idea your audience needs to understand. A strong visual story starts with a clear message, not with choosing decorative images.
Example: Instead of “digital transformation,” define the message as “our team is moving from disconnected manual work to one shared customer workflow.”
Step 2: Find a visual starting point
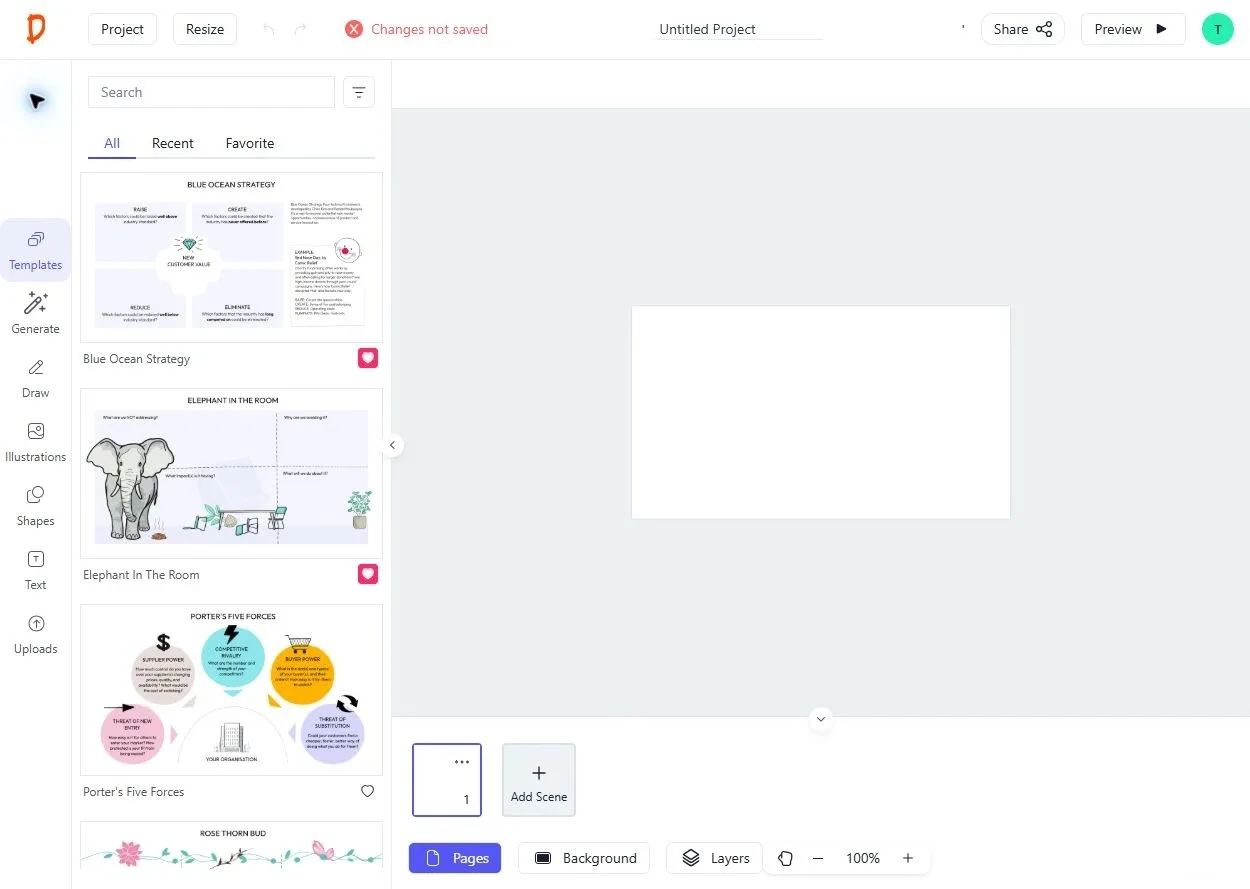
Search Drawify's artist-created illustration library or choose a template that matches the kind of story you are telling. Look for visual elements that represent people, actions, obstacles, outcomes and relationships.
Step 3: Compose the story
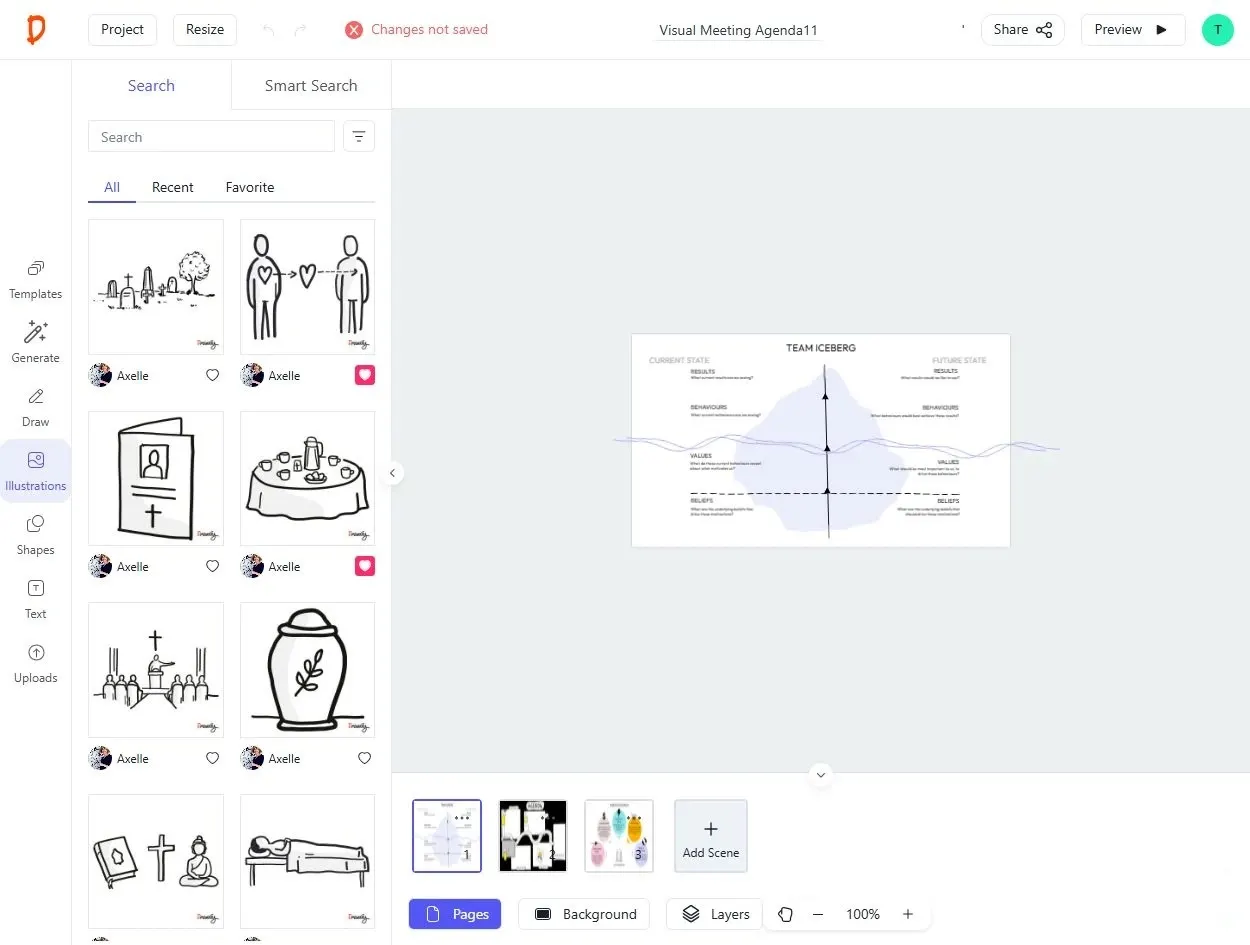
Add the chosen elements to the canvas and arrange them into a structure. Use position, scale, direction and spacing to show what happens first, what is connected and what matters most.
Step 4: Customize the result
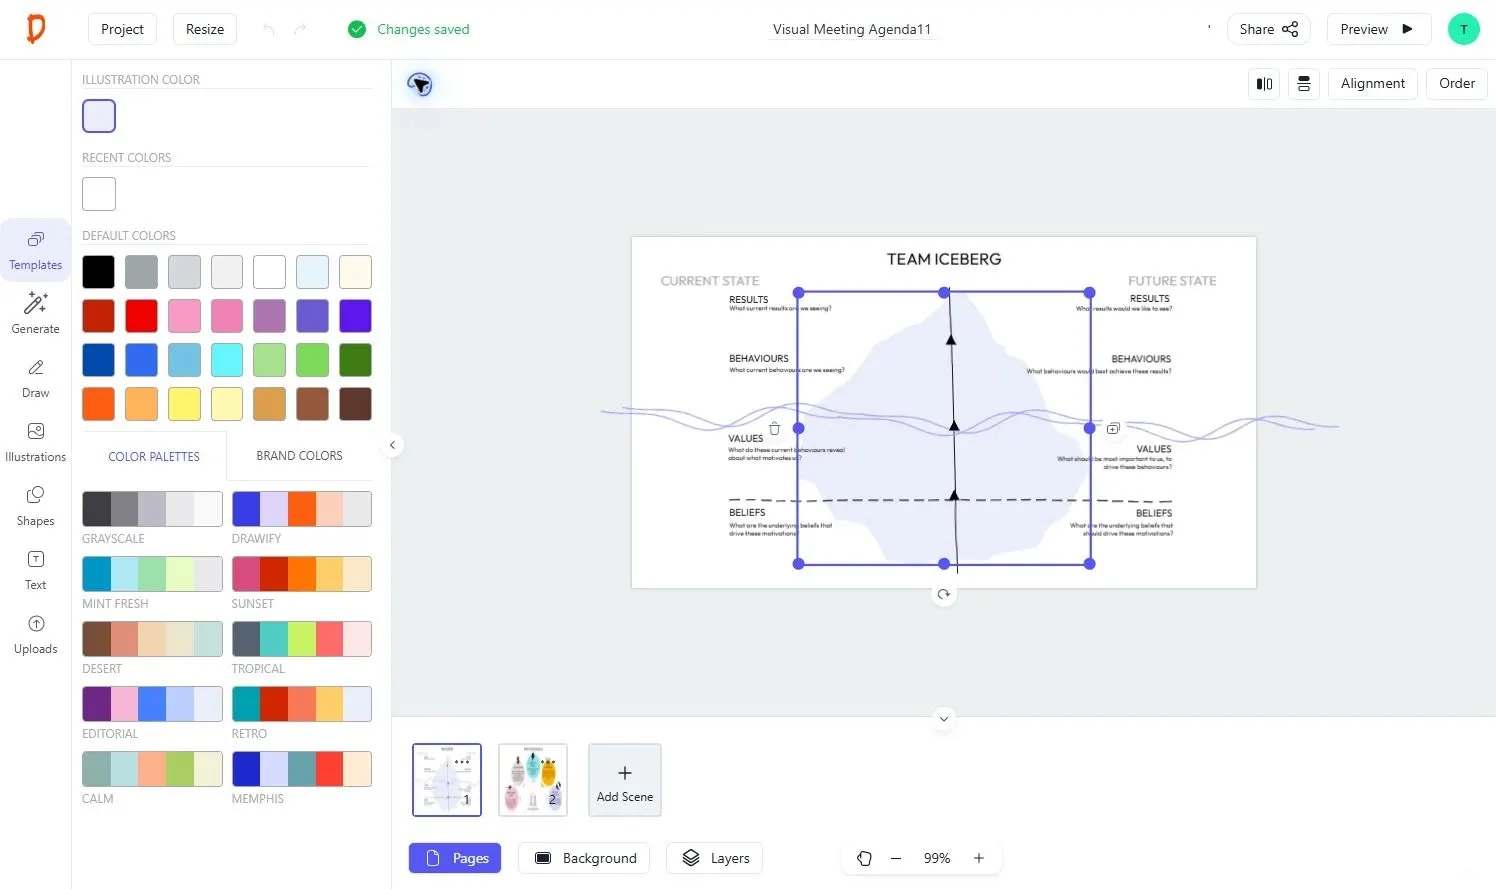
Add the essential text, adjust supported colors and refine the layout. Keep labels short and make sure the final visual can still be understood at the size where it will be presented.
Step 5: Export or use an integration
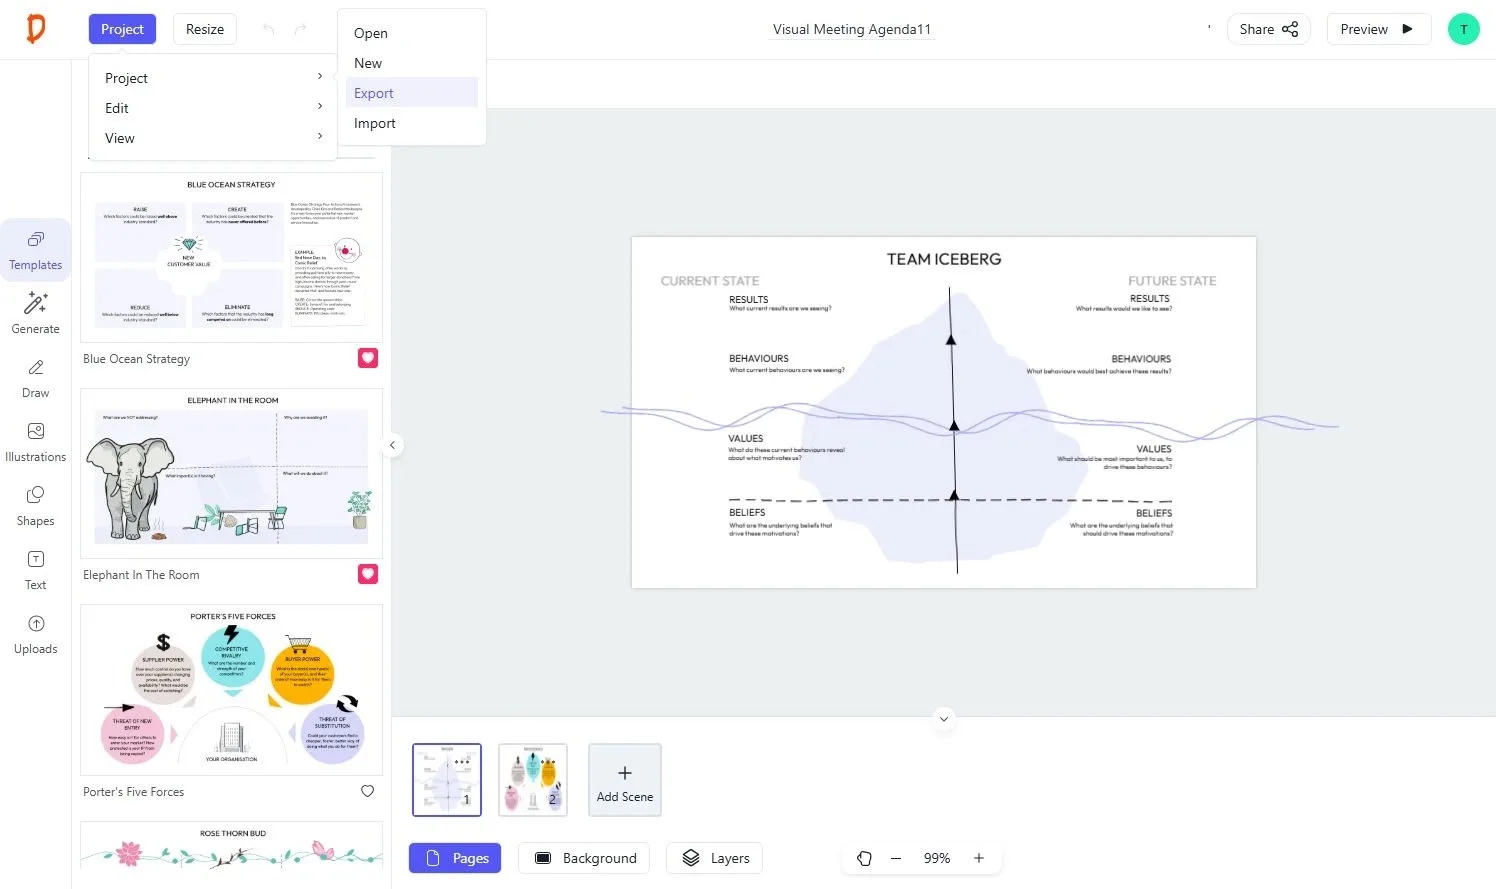
Export the finished visual as JPEG, PNG or PDF, based on the options available in your plan. You can also use supported integrations such as Google Slides or Miro when they fit your workflow.
Where can I use the finished visual?
- Presentations and pitch decks.
- Workshops and collaborative boards.
- Strategy and process documents.
- Training and educational materials.
- Social posts and internal communication.
- Client reports and stakeholder updates, subject to the license included with your plan.
How Maia can help
If you are not sure how to structure the idea, describe it to Maia. Maia can suggest a visual starting structure that you then refine with Drawify's artist-created elements, text and composition controls.
Tips for a clearer result
- Communicate one main idea per visual.
- Use only the elements needed to explain the message.
- Make the reading order obvious.
- Use consistent colors for related concepts.
- Add a title that states the takeaway.
- Test the visual with someone who has not seen the source material.
Start your first visual story
Begin with a message you need to explain this week. Choose a template or illustration, create the first version and improve it after seeing how another person interprets it.
Start creating free Explore templatesGet visualisation tips every week
Subscribe to the Drawify Newsletter, and feed your creativity with visualisation tips and techniques, as well as the latest Drawify workshops, news and resources.